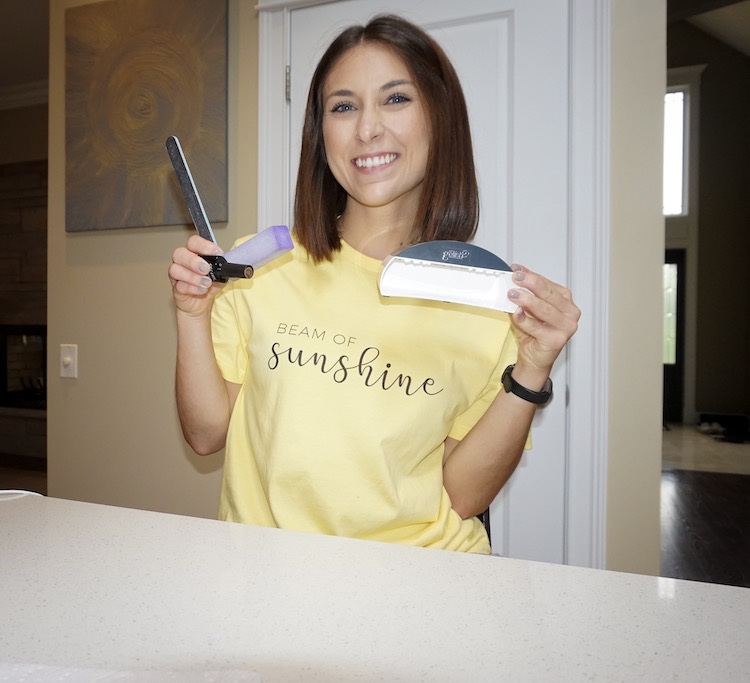
A couple years ago, I invested in an at home gel manicure kit. It has been one of my most valuable beauty investments hands down! Everything will be linked below, but the tools pay themselves off in just 1-2 uses. Today I’m going to walk you through my step-by-step process to complete an at home gel manicure. Before I do that, I’m going to talk about professional nails, per your requests. Skip to the video!
Professional Nail Tips
There is no rule book when it comes to professional nails. However, I do believe there are a few things you can do to make sure your nails don’t cause a ruckus at the office.
Avoid Chipped Nails: This may seem like common sense, but once your nails start chipping take the polish off! I’m guilty of doing this, but we get so caught up in our day-to-day lives that we ignore how our nails look. Bare nails looks better and more professional than chipped nails every day of the week. The easiest thing you can do is take 5-10 minutes to just remove your polish once it starts chipping.
Keep Your Nails Clean Cut: Another simple way to keep your nails professional is to keep them clean cut. If you have polish on, specifically fake nails, don’t let them get too overgrown. Take them off or have them filled regularly. On the other side, if you don’t have fake nails, cut / file your nails regularly. If you can, trim your cuticles and use lotion. Polish is not the only way to keep your nails looking clean cut.
Be Conscious of Color: There is no “right” or “wrong” color choice when it comes to nail polish. Different colors and styles send different messages and draw different reactions so it is important to be conscious of that. I personally work in an external client facing position, so I like to stick with neutral colors. In the winter, I will do deep colors and in the summer, I will do pastels. Patterns, party nails, neon colors, etc. will draw more attention to your nails. That is not necessarily a bad thing, but it is something that should be considered. Think about your role and what seems appropriate. Remember: it is always best to play it safe and experiment later (especially in your career).
Those are three simple ways to keep your nails looking professional. Below I’m sharing how I do an at home no chip manicure. I promise you it is so simple anyone can do it. I’ve even put together a YouTube video to walk you through the process visually. (Video linked at the end).
How to do an at home Gel Manicure
All products I use will be linked below!
STEP 1: PREP YOUR NAILS
Before you polish your nails, it is important to prep them. Prepping your nails will ensure the polish is long lasting and smooth. I usually cut, file, and buff my nails. I also trim my cuticles when needed (I’m not super great at this so I try to keep it simple). The most important preparation step is to buff!! I cannot stress this enough. Buffing your nails helps smooth your nails and dry them out so the polish is professional and long lasting. A good rule of thumb is to try to recreate what they do at the salon. Obviously, you won’t get it perfect but with practice you’ll be close to salon perfect in no time.
STEP 2: APPLY POLISH
After you’ve prepped your nails, you’re ready to polish them. In between each step listed below, you should cure your nails under a UV / LED light.
- Base coat
- 2-3 coats of color
- Top coat
Cure your nails in between each layer. After you apply top coat, cure your nails 3-4 times to ensure the polish is fully dried. It should be dry and smooth to touch. If it is tacky or sticky, cure it again.
The simplest way to apply the polish is doing one hand at a time. I recommend painting with your “bad hand” first. So if you are right-handed, paint your right hand first. Painting one hand at a time let’s you focus on all the steps and curing for that hand, but it also allows that hand to completely dry so you’re never polishing with wet nails.
My final tip on polishing is to try your best to keep it on your nail. If you get polish on your skin, wipe it off before you cure it under the light. Any polish left on your skin will cause your nails to peel earlier and not last as long.
STEP 3: CLEAN EDGES
The final step after you’ve polished both hands is to clean the edges. You can use a nail file or cuticle cutter to do this. You really want to make sure no polish is on your skin because that will cause the polish to peel. Don’t skip this step!
You can wipe nail polish remover over your nails to dry them out a bit. If you plan to apply lotion, do that before wiping nail polish remover on your nails. Other than that, you’re done! The process is SO simple and well worth the investment. My nails usually last 1-2 weeks when I paint them at home which helps avoid chipped nails during the work day.
Products Used:
These are all similar products to what I used.
WATCH MY YOUTUBE VIDEO
I put together a video summarizing the process and professional nails. You can watch that for a better visual on the process.
I hope that this beauty tip helps you be more comfortably you when it comes to your nails. Let me know in the comments below or on Instagram if you try your own at home gel manicure!
XOXO,
MegMat


What do you think?